Lately the bleached demin look has been super chic and I was eagar to try it myself.
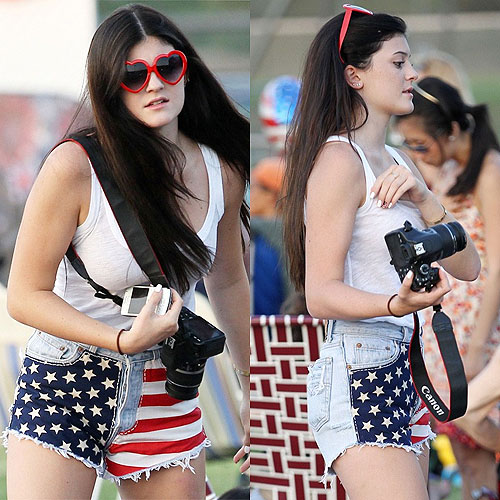
My inspiration:


My hopes for the pink pair...

Over at my favorite thrift store I got super lucky and found a pair of dark wash Levi's, vintage Jordache and a pink pair of vintage Bongo jeans with botton clousures all with so much potential.

What you need:

Bleach
Gloves
Bucket
Distilled white vinegar (to stop the bleaching process when I get my desired look)
Tongs, just in case.
1. Cut your shorts

2. I filled the bucket with two parts water, one part bleach. I also used hot water and realized it takes much less time to process.

3. Dip your shorts in to about an inch lower than you want the bleach to start. (it will run up a little)
I put mine on a hanger and hung them over the bucket.

3. Dip your shorts in to about an inch lower than you want the bleach to start. (it will run up a little)
I put mine on a hanger and hung them over the bucket.
4. Check ever 10 minutes, mine took 30 minutes to process.

5. place them in a tub with water and vinegar (2:1 ratio), rinse them well and place them in the washer and dryer by themselves the first time. Then you can wash them with other clothes.

5. place them in a tub with water and vinegar (2:1 ratio), rinse them well and place them in the washer and dryer by themselves the first time. Then you can wash them with other clothes.
6. Wear them and be awesome.
Here are a few pictures I instragramed of me wearing them. (Follow me @DISCOairglow)


I didn't dip dye the lighter wash Jordache and they came out super cute as well! I just wanted a pair of plain distressed cut offs.
More pictures to come of the other two jeans in another post! ;)
More pictures to come of the other two jeans in another post! ;)
What do you think?